Trezor.io/start – Complete Step-by-Step Guide to Setting Up and Securing Your Trezor Wallet
Introduction: Why Trezor.io/start Matters
Trezor.io/start is the official onboarding portal for Trezor hardware wallets, designed to help users set up and secure their cryptocurrency assets safely. Trezor wallets provide industry-leading security by keeping private keys offline while giving users full control over their digital funds.
Whether you are a beginner or an experienced investor, following the official Trezor guide ensures your crypto remains protected from phishing attacks, hacks, and scams. This guide will walk you through every step—from unboxing your Trezor device to managing your assets with Trezor Suite.
Why Choose Trezor for Your Cryptocurrency
Trezor has become a trusted name in the cryptocurrency industry due to its robust security and user-friendly design. Key reasons to choose Trezor include:
Advanced Security: Trezor stores private keys offline and encrypts sensitive data.
Wide Asset Support: Manage thousands of cryptocurrencies, tokens, and NFTs.
Regular Updates: Firmware updates enhance security and introduce new features.
User-Controlled Assets: You always retain full control of your private keys.
By starting at Trezor.io/start, you ensure you follow official setup instructions and avoid risky third-party sources or scams.
Supported Trezor Devices
Trezor.io/start supports all current Trezor hardware wallets:
Trezor Model T – advanced model with touchscreen and wider coin support
Trezor One – reliable, beginner-friendly model
Trezor Model T Limited Edition – same security features with premium design
The setup process is similar across devices, though the Model T includes touchscreen navigation.
What You Need Before Starting
Before beginning your setup, make sure you have:
Your Trezor hardware wallet
USB cable (or USB-C for Trezor Model T)
Computer or smartphone with internet access
Private, quiet workspace
Pen and paper to write down your recovery seed
Important: Never store your recovery seed digitally or online.
Step 1: Visit Trezor.io/start
Open your browser and go to Trezor.io/start. This is the official portal to download Trezor Suite and access legitimate setup instructions. Avoid third-party websites, ads, or emails claiming to provide setup guides, as they may be fraudulent.
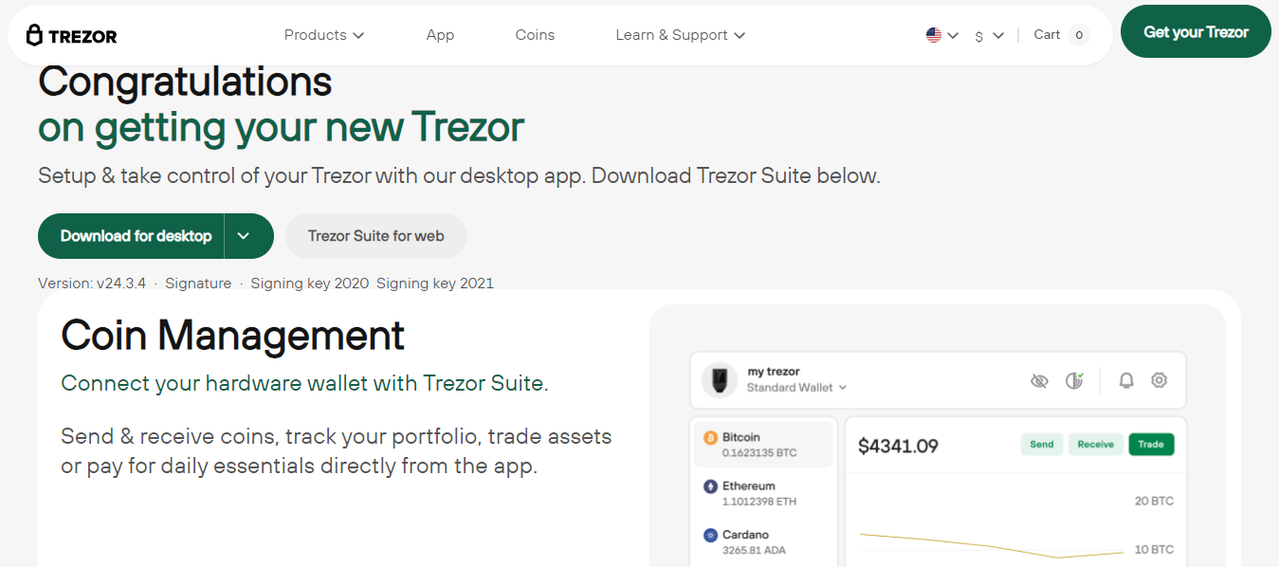
Step 2: Download Trezor Suite
Trezor Suite is the official software to manage your Trezor wallet. Only download it from Trezor.io/start.
Trezor Suite allows you to:
Install supported cryptocurrency apps
Track portfolio balances and transactions
Send and receive cryptocurrency securely
Update device firmware safely
Step 3: Connect Your Trezor Device
Connect your Trezor device using the supplied USB cable
For Trezor Model T, use USB-C for mobile or computer connection
Trezor Suite will detect your device and guide you through the initial configuration.
Step 4: Set a Secure PIN
Creating a PIN code is essential for protecting your Trezor wallet if it is lost or stolen.
PIN Best Practices:
Choose a unique combination
Avoid predictable sequences like 1234 or 0000
Memorize your PIN; do not write it near your device
Note: Multiple wrong PIN entries will reset your Trezor for security.
Step 5: Record Your Recovery Seed
The recovery seed (typically 12, 18, or 24 words) is the most important security feature of your Trezor wallet.
Why It Matters:
Restores access to your wallet if the device is lost, stolen, or damaged
Gives full control over your cryptocurrency
How to Store It Safely:
Write it down offline on the recovery card provided
Keep it in a secure, private location
Consider a fireproof or metal backup
Never share it digitally
Trezor will never ask for your recovery seed online.
Step 6: Install Cryptocurrency Apps
After securing your wallet, you can install apps for the cryptocurrencies you want to manage via Trezor Suite.
Each cryptocurrency requires its own app
Apps can be installed or removed without affecting your funds
Manage coins, tokens, NFTs, and DeFi assets safely
Step 7: Receive and Send Cryptocurrency
Trezor Suite allows safe transactions once setup is complete.
Receiving Crypto:
Open Trezor Suite
Select the cryptocurrency you want to receive
Verify the wallet address on your Trezor device
Share only the verified address
Sending Crypto:
Enter the recipient’s address
Confirm transaction details on the Trezor device
Approve the transaction physically
Manual verification on the device ensures maximum security.
Maintaining Wallet Security
Security is continuous. Trezor.io/start emphasizes:
Always verify addresses directly on the Trezor device
Keep Trezor Suite and device firmware updated
Ignore emails or websites requesting your recovery seed
Only use official Trezor apps and websites
Common Mistakes to Avoid
Many cryptocurrency losses occur due to simple user errors. Avoid:
Entering recovery seeds online or digitally
Downloading fake Trezor Suite software
Sharing screenshots of your wallet
Using pre-owned or tampered devices
Always initialize and configure your Trezor device yourself.
Who Should Use Trezor.io/start
Trezor.io/start is ideal for:
New cryptocurrency users
Investors upgrading to cold storage
Long-term crypto holders
NFT collectors and DeFi participants
Anyone prioritizing security of their digital assets benefits from following the official Trezor setup.
Conclusion
Trezor.io/start is the official and secure portal for setting up Trezor hardware wallets. By following this guide, creating a strong PIN, and safely storing your recovery seed, you take full control of your cryptocurrency assets. Trezor wallets combine top-tier security with a user-friendly interface, giving users peace of mind and confidence in managing their digital wealth.
Starting correctly is the foundation for long-term cryptocurrency security—and Trezor.io/start ensures you do it safely.